slisen.blogspot.com


I started my dyeing ‘career’
by dyeing a double stranded sock blank with KoolAid. That was enough to send me over the edge to another addiction. Wow, how much fun and
so very easy. That was several years ago
and I’ve since experimented with several techniques and have switched to using retail
acid dyes rather than KoolAid and food grade colors such as food coloring, cake
dyes, etc. There’s absolutely nothing
wrong with dyeing with the food grade dyes and it led me into yet another
craft. I converted to retail acid dyes
because our water apparently doesn’t have the right pH for food grade dyes to
retain their brightness and color during laundry. But don’t let my experiences stop you from the
adventures of dyeing with food grade dyes.
Lately I got the urge to do a blank again and I’m very happy with
it. I’ve posted several other articles
on my blog about other dyeing projects including blanks, mostly dyed in
vertical or horizontal striping sequences, but I did want to expand more on dyeing
this blank with diagonal striping. So
here’s what I did last week.
1. I divided a 100 gram of bare sock yarn into 2
– 50 gram cakes and knit my blank with double strands at tension 7 on my KX350
midgauge machine. I cast on 100 stitches
and knit til I was out of yarn. If you
don’t have a knitting machine, knit with very large needles so the stitches
will be loose enough to let the dye penetrate into all the crooks and crannies
of the stitch. I began and ended with
about 6 rows of waste yarn. This makes
it easier to lay out and doesn’t have a tighter cast on and off edge for the
dye to contend with.
 2. After I knit the blank, I put it to soak in
the sink with tepid water and a couple squirts of Dawn dishwashing liquid. I let the yarn sink into the water naturally
and didn’t push it down into the water.
Pushing it down may trap air bubbles inside the yarn and create a resist
for the dyes. I let it sink into the
water on its own and the air is released naturally as it sinks. After the yarn sank into the water, after
about 15 minutes I sozzled it around several times and then let it soak in
clear water after I rinsed the suds out.
Let it soak for at least 30 minutes or more.
2. After I knit the blank, I put it to soak in
the sink with tepid water and a couple squirts of Dawn dishwashing liquid. I let the yarn sink into the water naturally
and didn’t push it down into the water.
Pushing it down may trap air bubbles inside the yarn and create a resist
for the dyes. I let it sink into the
water on its own and the air is released naturally as it sinks. After the yarn sank into the water, after
about 15 minutes I sozzled it around several times and then let it soak in
clear water after I rinsed the suds out.
Let it soak for at least 30 minutes or more.
3. While my blank is soaking, I mixed up the
dyes. For this particular project, I
wanted saturated colors so I mixed ¾ tsp of dye powder with 2 cups of water and
3T of white vinegar. Citric acid may be
used in place of vinegar if you don’t care for the smell of vinegar. Mix dyes according to manufacturer’s
directions and prepare the dyes using a dust mask and rubber gloves, preferably
away from eating areas. While measuring
and mixing dyes, I lay down a couple of wet paper towels to catch any powder
spills. The wet towels keep the powder
from dispersing into the air. For this
blank, I chose coordinating colors because I knew I would get some bleeding and
didn’t want any weird colors in it. Keep
the color wheel in mind when choosing your dye colors.
4. I prepared my dyeing surface by laying down
a plastic painter’s drop cloth over my kitchen bar counter. This will protect your work surface from
puddles, drips and spills. And trust me,
you will have puddles, drips and spills. I like to paint a blank on an absorbent
surface such as an old rug or several layers of old towels. I’ve found that an old rug absorbs excess
water and keeps the color bleeding to a minimum. But if you want the colors to
bleed, lay down several strips of plastic wrap large enough to hold the blank and
don’t use an absorbent backing.
 5. After I prepared my work surface, I squeezed
out as much water from the yarn blank as I could with my hands. Then wrapped it up in an old bath towel like
a jelly roll and walked on it to remove remaining water. The blank should be damp but not dry. Then I laid the blank out on the rug,
stretching it a bit in all directions so the stitches would open up nicely. I prefer to paint with the purl side up but
it’s your choice.
5. After I prepared my work surface, I squeezed
out as much water from the yarn blank as I could with my hands. Then wrapped it up in an old bath towel like
a jelly roll and walked on it to remove remaining water. The blank should be damp but not dry. Then I laid the blank out on the rug,
stretching it a bit in all directions so the stitches would open up nicely. I prefer to paint with the purl side up but
it’s your choice.  6. Let the painting begin. I use little sponge brushes found in the
paint or arts and crafts departments. They
are intended to be disposable but I’ve used them for several sessions after a
good rinsing and drying. Some use
squeeze bottles like the kind you find ketchup in at eating places but I find I
have much better control with a brush.
Paint by dipping the brush into the dye mix and dabbing it onto the
yarn, don’t use a brushing motion as it will just fuzz up your yarn and won't get
saturated. Dabbing works best. Saturate the yarn pretty well so you don’t
see white spots anywhere. Before I go to
the next color, I blot up excess liquid with a couple sheets of paper
towels. Lay the paper towels on the dyed
section and pat down with your hands. If
you dab with the towel, you’ll run the risk of contaminating other sections
with that color.
6. Let the painting begin. I use little sponge brushes found in the
paint or arts and crafts departments. They
are intended to be disposable but I’ve used them for several sessions after a
good rinsing and drying. Some use
squeeze bottles like the kind you find ketchup in at eating places but I find I
have much better control with a brush.
Paint by dipping the brush into the dye mix and dabbing it onto the
yarn, don’t use a brushing motion as it will just fuzz up your yarn and won't get
saturated. Dabbing works best. Saturate the yarn pretty well so you don’t
see white spots anywhere. Before I go to
the next color, I blot up excess liquid with a couple sheets of paper
towels. Lay the paper towels on the dyed
section and pat down with your hands. If
you dab with the towel, you’ll run the risk of contaminating other sections
with that color.
7. After you’re happy with your dyeing, flip the
blank over and repeat painting on the other side. I run a couple of long single pointed
knitting needles through the waste yarn on one side of the blank, lift up by
the needles and carefully lay it down on a clean rug so the colors don’t get
contaminated with the others. You’ll
plainly see the areas that need another application of dye mix. This second coating won’t take as much dye as
the first side. Again, lay paper towels
down on your work and blot up the excess water.
 8. Cover the blank with sheets of plastic wrap,
seal the seams and roll it up like a jelly roll. Turn in the ends of the plastic wrap about
halfway thru and finish rolling it up.
Wrap it up in another sheet of plastic wrap to make sure all openings
are sealed up. You don't want steam to come in direct contact with the yarn.
8. Cover the blank with sheets of plastic wrap,
seal the seams and roll it up like a jelly roll. Turn in the ends of the plastic wrap about
halfway thru and finish rolling it up.
Wrap it up in another sheet of plastic wrap to make sure all openings
are sealed up. You don't want steam to come in direct contact with the yarn.

 9. I use a stainless steel mesh colander to hold
the yarn roll, a hot plate and a pot with a couple inches of water in the bottom to steam the yarn. So I shape the
roll into a circle and place it in my colander and onto my kettle. If you were to use food grade dyes, you could
do this in your kitchen or use the microwave to heat set but the retail acid
dyes should be heat set in a well ventilated area, and not used with any
utensil or appliance that will be used for food. Bring the water to a boil, cover the pan and
let simmer for at least 30-45 minutes. I’ve
been known to forget to set my timer so some of my jobs have steamed for over
an hour, no problem. Extra time gives
some of the pesky colors a better opportunity to set. Blues and reds can be kind of pesky.
9. I use a stainless steel mesh colander to hold
the yarn roll, a hot plate and a pot with a couple inches of water in the bottom to steam the yarn. So I shape the
roll into a circle and place it in my colander and onto my kettle. If you were to use food grade dyes, you could
do this in your kitchen or use the microwave to heat set but the retail acid
dyes should be heat set in a well ventilated area, and not used with any
utensil or appliance that will be used for food. Bring the water to a boil, cover the pan and
let simmer for at least 30-45 minutes. I’ve
been known to forget to set my timer so some of my jobs have steamed for over
an hour, no problem. Extra time gives
some of the pesky colors a better opportunity to set. Blues and reds can be kind of pesky.
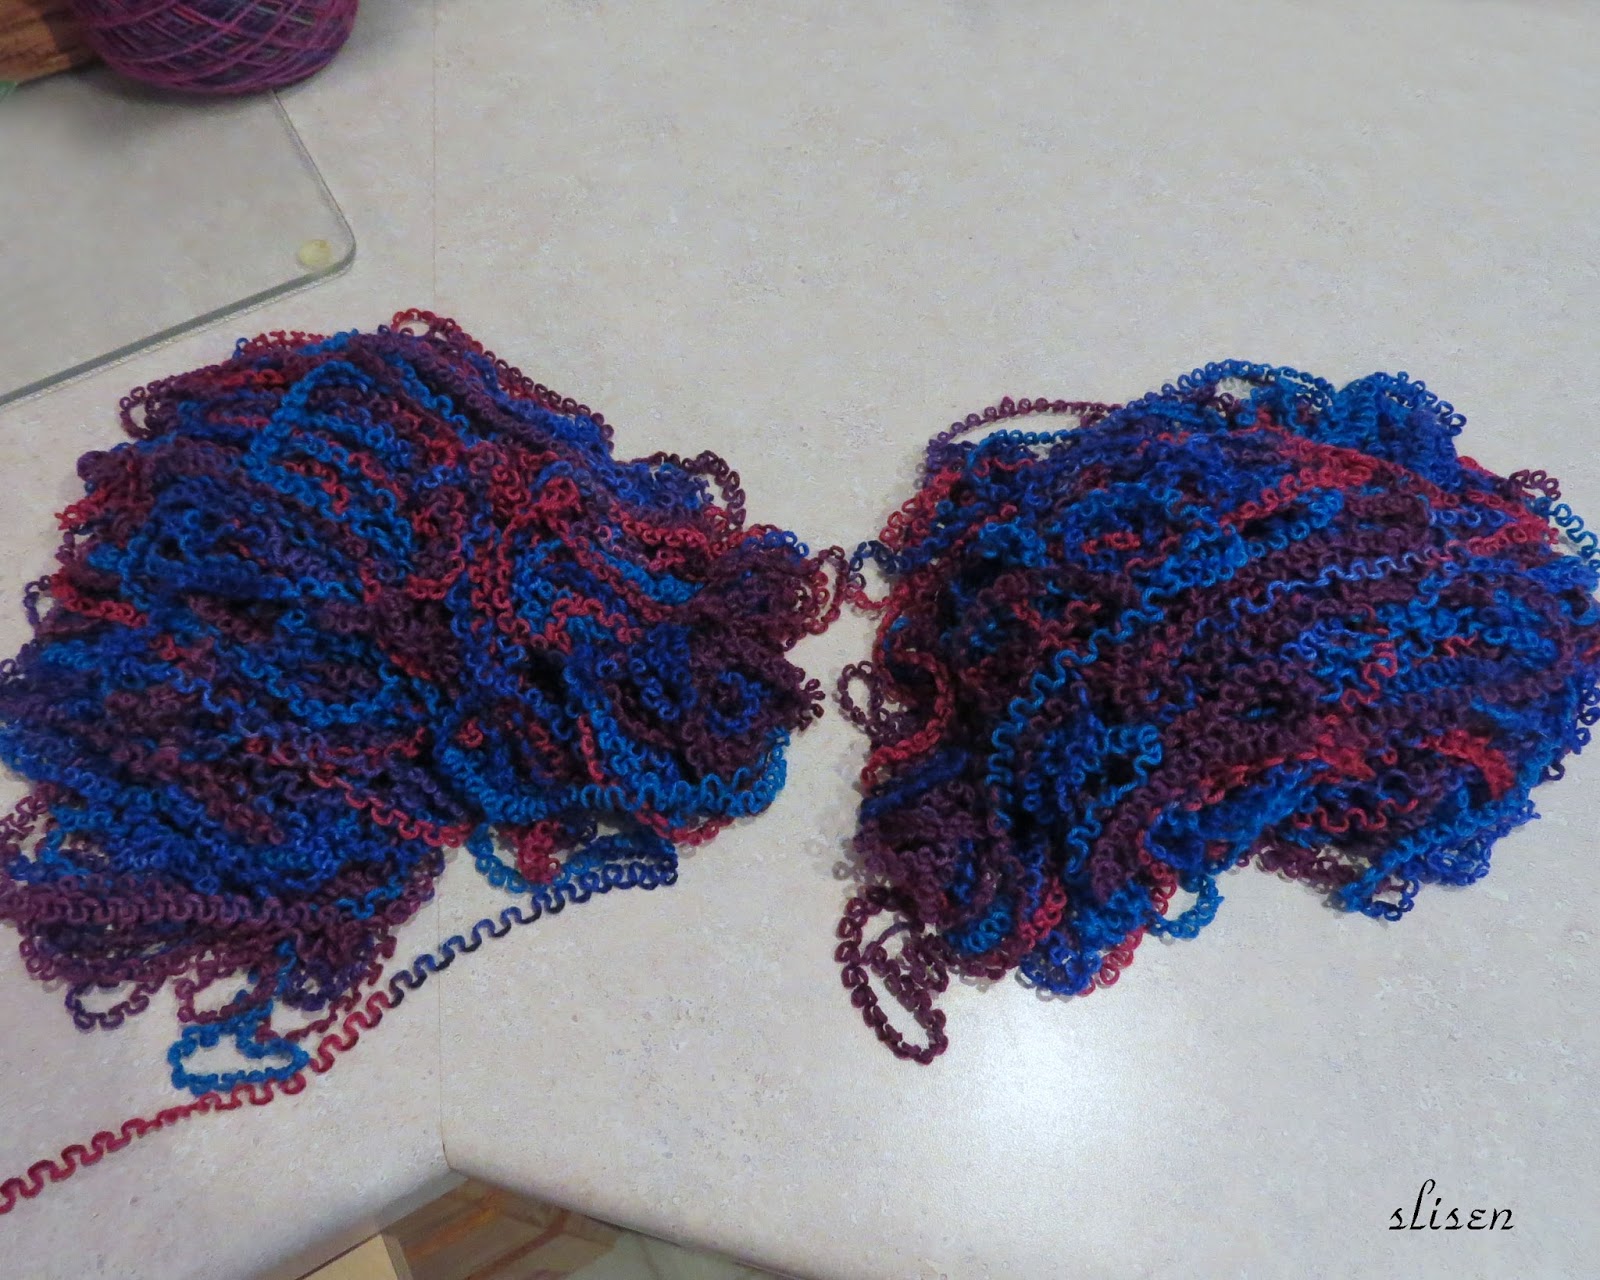
10. After steaming, let your blank cool before
handling because it’ll be very hot. When
cool enough to handle, unwrap it and rinse it in the sink with the same temperature
water as the yarn and with a couple squirts of Dawn dishwashing liquid. The rinse water should run clear but if it
doesn’t, keep rinsing til it does. If
there is a lot of color left in the rinse water, repeat the Dawn rinse to
remove excess dyes and rinse again til clear.
Then hang to dry, unravel, wind into a cone and knit away.
Painting a sock blank
is such an easy way to dye yarn and the possibilities are endless. I get lots of inspiration from the ‘I Love to
Dye’, ‘What a Kool Way to Dye’ and ‘Sock Blank Artists’ groups on Ravelry.com. There are many videos on You Tube as well as
tutorials on artist’s websites and blogs. Have fun and let your
imagination go wild.